Thanks for checking out Report Mule! Here's a quick overview to help you make your first report.
1. Create a New Report
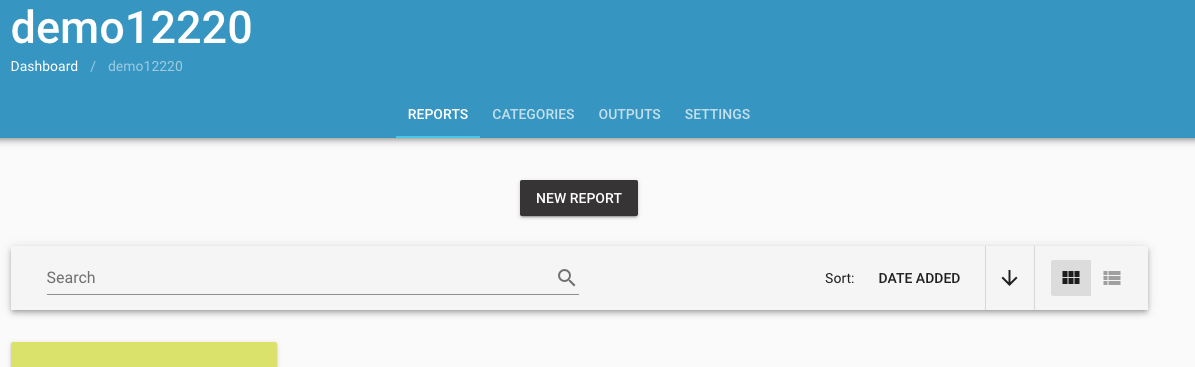
"Click "New Report" to create a new report.
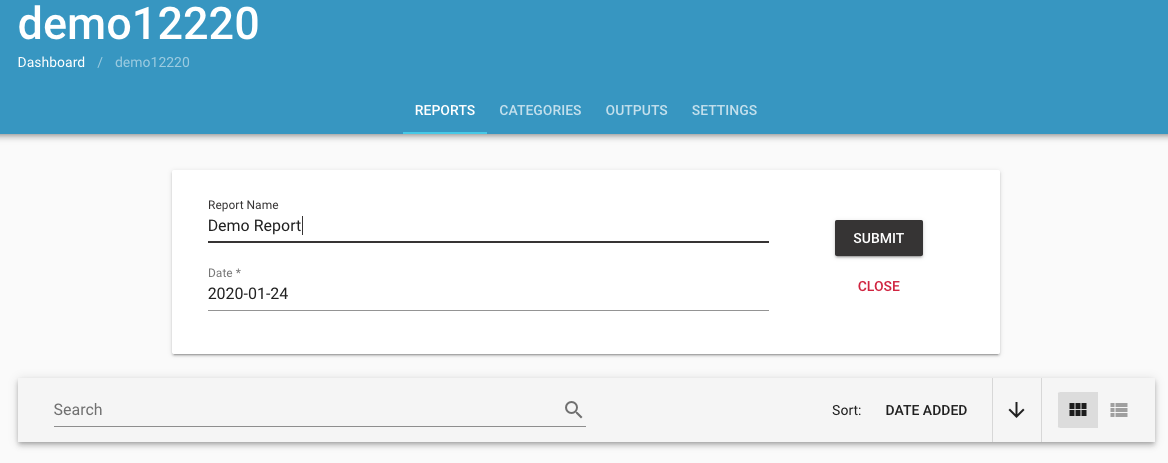
2. Name Your Report
You can title the report any way you'd like or simply hit submit and use the current date.
3. Add Articles
You can add links in one at a time or in batches. Hit 'Submit' when you're done and the Mule will get to work gathering information about each article.
At the bottom are all of the articles that the Mule has brought into the program. The information gathered includes:
- Publication Name
- Publication logo
- Headline
- Author
- Date
- Full Text
- Summary
- Domain Authority for the publication
- Reach of the publication
- Social Sharing stats from Facebook.
4. Output Report
At this point, you can continue adding new articles or select "Output Report" to see your different format options.
On the left-hand side of the screen you have a few options to choose between. Whenever you change the option the screen on the right will switch to show you a preview of what your report would look like.
In total you have six different default options when you first start with Report Mule. Three Web optimized reports and three Print optimized reports. If none of these fit your needs you'll be able to create custom formats as well.
The first option is to choose between a Web report or a Print report.
Our Web reports are optimized to be viewed in a web browser (on desktop or mobile devices). This lets us include logos and images and still provide a consistent experience to your end-user. You can send the link to your final report to anyone that you want and they can see it without needing to log in or have a Report Mule account. Any updates you make in your report will be visible when your end-user refreshes the link that you've sent them.
The Print reports can also be shared by sending a link, but you can also copy/paste them into the body of an email without losing the formatting.
There are three different Output options in your report by default. You can switch between them to see the difference visually. The Index is the top section of the report with a more compact list of all the articles in the report. This is especially useful for larger reports so that your end users can quickly scan through all of the content. Beneath the Index, you can either include a Summary section or a Full-Text section.
The Summary can either be the content that's automatically generated when you first input your URLs into Report Mule or you can edit this section to highlight a specific section of each article. If your client or company is mentioned in the article - the summary section is a good place to call attention to that fact.
If you choose the Full-Text option then the report will display the complete article.
If you want to edit any part of an individual article you can click the Edit button next to that article.
When you're ready to share your report head back to the Output Report screen. At the top, you'll find links to the different formats you have available (Print, Web, Excel).
When you select Print or Web it will open the final version of your report in a new tab. You can copy that link and email it whomever you'd like. They'll be able to open it without needing to access your account or create one of their own. When you make changes to your report - they will be reflected whenever they refresh the link in their browser.
If you prefer to have your report embedded in the body of an email you can copy/paste from this final version of one of the Print reports.
That's it. If you have any questions or run into any problems you can look through this Knowledgebase or email usersuccess@reportmule.com and we'll get back to you as soon as possible.